| Don't like the ads? Then create an account! Users with accounts have more options than anonymous users. |
Difference between revisions of "Gallery:The Legend of Zelda"
From Triforce Wiki, a The Legend of Zelda wiki
Jump to navigationJump to search
(→Tips & Tactics guide: Wording book headers use. Yes, individual item order and image order is flipped, likely an artifact of translation since reading direction/order isn't necessarily the same.) |
|||
| Line 108: | Line 108: | ||
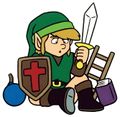
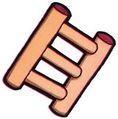
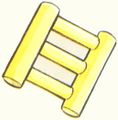
TLoZ T&T ladder art.jpg|Ladder | TLoZ T&T ladder art.jpg|Ladder | ||
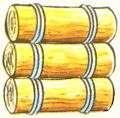
TLoZ T&T raft art.jpg|Raft | TLoZ T&T raft art.jpg|Raft | ||
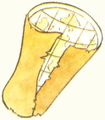
TLoZ T&T map art.jpg|Maps of the | TLoZ T&T map art.jpg|Maps of the Underworld mazes | ||
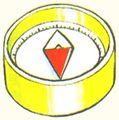
TLoZ T&T compass art.jpg|Compasses | TLoZ T&T compass art.jpg|Compasses | ||
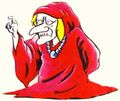
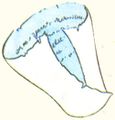
TLoZ T&T letter art.jpg|Letter to a little old lady | TLoZ T&T letter art.jpg|Letter to a little old lady | ||
Revision as of 06:47, July 8, 2020
 This article is a stub. You can help Triforce Wiki by expanding it.
This is a gallery of images relating to The Legend of Zelda.
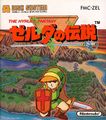
Boxart
Artwork
Characters
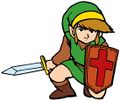
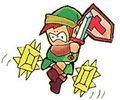
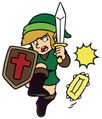
- TLoZ Link combat art.jpg
Link
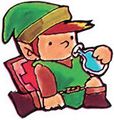
Link and a fairy
- TLoZ Impa Link art.jpg
Link and Impa
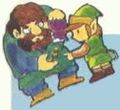
Link and a merchant
- TLoZ Zelda art.jpg
Ganon teaser
Tips & Tactics guide
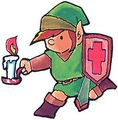
- Link TLoZ artwork 2.png
Link
The Hyrule Fantasy: Zelda no Densetsu 1 (1994 Famicom re-release)
Item groups
Swords (Sword, White sword, and Magical sword)
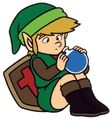
Health drops (heart, heart container, and fairy)
Boomerangs (wooden boomerang, magical boomerang)
Archery items (bow, arrow, silver arrow)
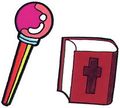
Magic items (magic rod, book of magic)
Tips & Tactics guide
The Hyrule Fantasy: Zelda no Densetsu 1
Enemies and obstacles
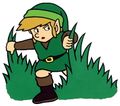
Overworld
- TLoZ Leever art.jpg
- TLoZ Octorok art.jpg
- TLoZ Peahat art.jpg
- Zola TLoZ artwork.jpg
Underworld
- TLoZ Darknut art.jpg
- TLoZ Gibdo art.jpg
- TLoZ Goriya art.jpg
- TLoZ Wall Master art.jpg
Demonstrations
Scenes
The Hyrule Fantasy: Zelda no Densetsu 1
Miscellaneous
Link's sketches of labyrinth shapes
Screenshots
Link exploring the Manji dungeon


