| Don't like the ads? Then create an account! Users with accounts have more options than anonymous users. |
Difference between revisions of "Gallery:The Legend of Zelda"
m (→Enemies and obstacles: replaced 8 images) |
|||
| Line 236: | Line 236: | ||
===Miscellaneous=== | ===Miscellaneous=== | ||
<gallery> | <gallery> | ||
TLoZ Hyrule artwork.jpg|Hyrule | |||
Death Mountain area.png|Hyrule | Death Mountain area.png|Hyrule | ||
TLoZ labyrinth shape art.jpg|Link's sketches of [[labyrinth]] shapes | TLoZ labyrinth shape art.jpg|Link's sketches of [[labyrinth]] shapes | ||
Revision as of 17:22, November 6, 2021
 This article is a stub. You can help Triforce Wiki by expanding it.
This is a gallery of images relating to The Legend of Zelda.
Logos

Japanese logo

Japanese logo (1994 re-release)

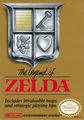
English logo, used on packaging, Game Pak, and instruction booklet cover

Alternate English logo, used inside the instruction booklet and based on the Japanese logo
Box art
North American cover

North American cover (back)

France, Belgium and Netherlands cover

Germany cover

North American Classic Series cover

Zelda no Densetsu 1 (1994 Family Computer release) cover

Japanese Famicom Mini cover

American Classic NES Series cover

European NES Classics cover


Artwork
Characters
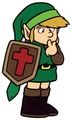
Link
Link
Link
Link
Link with the Triforce
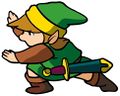
Link

Link and a fairy

Link and Impa
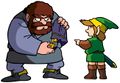
Link and a merchant

Link (Japanese manual)

Link (Japanese manual)

Link (Japanese manual)

Link (manual)
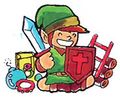
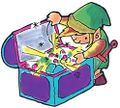
Link with several treasures
Link (Japanese manual)

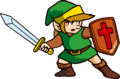
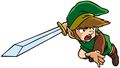
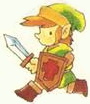
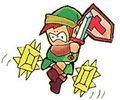
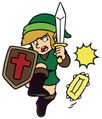
Link doing a sword beam
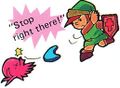
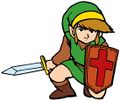
Link stopping an Octorok (English manual)

Link using the Recorder (Japanese manual)
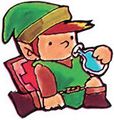
Link drinking Water of Life
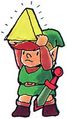
Link with the Triforce

Link (Japanese manual)
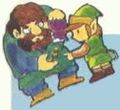
Link and a merchant (Japanese manual)

Link (manual)
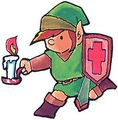
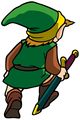
Link with the Red Candle

Link (manual)
Link (manual)
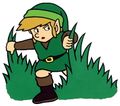
Link and traps
Link (manual)

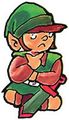
Fairy (manual)
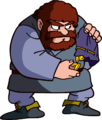
Merchant

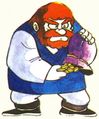
Ganon teaser


Tips & Tactics guide

Link

Link
Merchant

Princess Zelda

Fairy


Zelda no Densetsu 1

Link
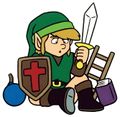
Link with several treasures

Link doing a sword beam
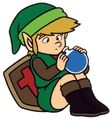
Link drinking Water of Life
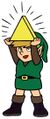
Link with the Triforce
Link

Link with the Red Candle
Link

Link
Link and a trap

Link

Fairy


Items

Sword, White Sword, and Magical Sword
Rupy and 5 Rupies

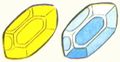
Container Heart, heart, and fairy
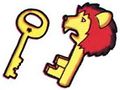
Key and Magical Key

The bow, arrow, and Silver Arrow

Red Candle and Blue Candle


Tips & Tactics guide
Rupy and 5 Rupies
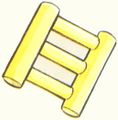
Stepladder
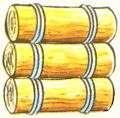
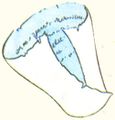
Raft
Map
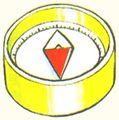
Compass
Letter
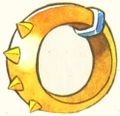
Power Bracelet
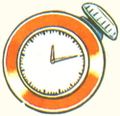
Clock

Boomerang and Magical Boomerang
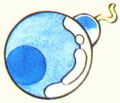
Bomb
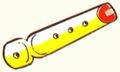
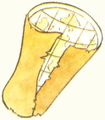
Recorder
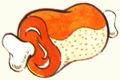
Food
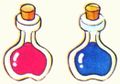
Water of Life
Magical Rod
Book of Magic

Heart and Container Heart
Key and Magical Key
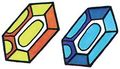
Red Ring and Blue Ring

The bow, arrow, and Silver Arrow

Red Candle and Blue Candle


Zelda no Densetsu 1

Swords

Shield/Magical Shield

Rupy and 5 Rupies

Container Heart, heart, and fairy

Keys

Stepladder

Raft

A map and compass

Letter

Red Ring and Blue Ring

Power Bracelet

Clock

Boomerang and Magical Boomerang

Bomb

The bow, arrow, and Silver Arrow

Blue Candle and Red Candle

Recorder

Food

Water of Life

Magical Rod and Book of Magic


Enemies and obstacles
Overworld


Underworld


Demonstrations

Octoroks eating food

Two Keeses split from a Vire

A Zol splitting into two Gels


Scenes

Primary artwork
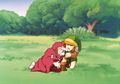
Link meets Impa

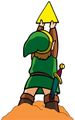
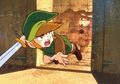
Link stands over a cliff
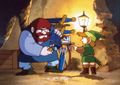
Link visits a merchant's shop
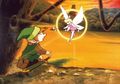
Link finds a fairy spring

Link approaches an entrance to the labyrinth

Link fights Keeses with the Magical Boomerang

Link prepares to fight a Lanmola
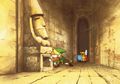
Link investigates a statue as a Darknut approaches
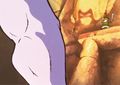
Link ducks from a sinister shadow
Link faces Ganon

Link repels Ganon with the Triforce's power


Zelda no Densetsu 1

Link leads Zelda out of the labyrinth as several monsters surround them

Miscellaneous

Hyrule
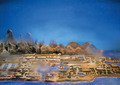
Hyrule

Link's sketches of labyrinth shapes

Family Computer Disk System print ad


Screenshots

The introduction story in the original version

The updated introduction in most subsequent versions

Link exploring the Manji labyrinth


Title screens

Family Computer Disk System original

First revision

Second revision, with an added trademark

Family Computer cartridge re-release

Collector's Edition (GameCube)

Collector's Edition (Japan)

Classic NES Series (Game Boy Advance)


Cartridges

Standard gold cartridge

Nintendo World Class Service cartridge

