| Don't like the ads? Then create an account! Users with accounts have more options than anonymous users. |
Difference between revisions of "Gallery:The Legend of Zelda"
From Triforce Wiki, a The Legend of Zelda wiki
Jump to navigationJump to search
m (Splitting underworld enemy section) |
m (This seems to be from the rerelease) |
||
| Line 57: | Line 57: | ||
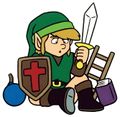
TLoZ Link thinking manual art.jpg|Link (manual) | TLoZ Link thinking manual art.jpg|Link (manual) | ||
TLoZ fairy manual art.jpg|Fairy (manual) | TLoZ fairy manual art.jpg|Fairy (manual) | ||
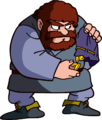
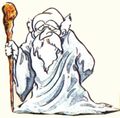
TLoZ Merchant solo art.png|Merchant | TLoZ Merchant solo art.png|Merchant | ||
</gallery> | </gallery> | ||
| Line 86: | Line 85: | ||
THF Link thinking manual art.jpg|Link | THF Link thinking manual art.jpg|Link | ||
THF fairy manual art.jpg|Fairy | THF fairy manual art.jpg|Fairy | ||
TLoZ Princess Zelda artwork.png|Princess Zelda | |||
</gallery> | </gallery> | ||
Latest revision as of 04:53, February 27, 2023
 This article is a stub. You can help Triforce Wiki by expanding it.
This is a gallery of images relating to The Legend of Zelda.
Logos[edit]
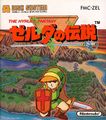
Box art[edit]
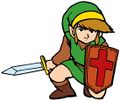
Artwork[edit]
Characters[edit]
Link with the Triforce
Link and a fairy
Link and Impa
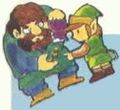
Link and a merchant
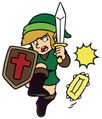
Link doing a sword beam
Link stopping an Octorok (English manual)
Link using the Recorder (Japanese manual)
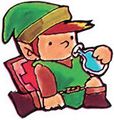
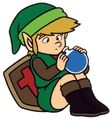
Link drinking Water of Life
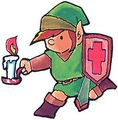
Link with the Red Candle
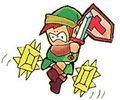
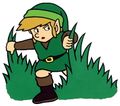
Link and traps
Tips & Tactics guide[edit]
Zelda no Densetsu 1[edit]
Items[edit]
Sword, White Sword, and Magical Sword
Rupy and 5 Rupies
Container Heart, heart, and fairy
Key and Magical Key
The bow, arrow, and Silver Arrow
Red Candle and Blue Candle
Tips & Tactics guide[edit]
Zelda no Densetsu 1[edit]
Enemies and obstacles[edit]
Overworld[edit]
Small underworld[edit]
Big underworld[edit]
Ganon teaser
Demonstrations[edit]
Scenes[edit]
Zelda no Densetsu 1[edit]
Miscellaneous[edit]
Link's sketches of labyrinth shapes
Screenshots[edit]
Link exploring the Manji labyrinth


