| Don't like the ads? Then create an account! Users with accounts have more options than anonymous users. |
Difference between revisions of "Gallery:Zelda II: The Adventure of Link"
From Triforce Wiki, a The Legend of Zelda wiki
Jump to navigationJump to search
(→Enemies: There we go! All Except Ra, which I'm waiting to hear back from LTL on.) |
|||
| Line 43: | Line 43: | ||
TAoL Lowder art.jpg|[[Lowder]] | TAoL Lowder art.jpg|[[Lowder]] | ||
TAoL Mago art.jpg|[[Mago]] | TAoL Mago art.jpg|[[Mago]] | ||
TAoL Mau art.jpg|[[Mau]] | TAoL Mau art.jpg|[[Mau]] (flying) | ||
TAoL Ra mounted art.jpg|Mau (mounted) | |||
TAoL Megmat art.jpg|[[Megmat]] | TAoL Megmat art.jpg|[[Megmat]] | ||
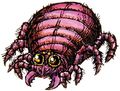
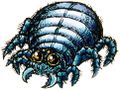
TAoL Moa art.jpg|[[Moa]] | TAoL Moa art.jpg|[[Moa]] | ||
| Line 53: | Line 54: | ||
TAoL Octorok art.jpg|[[Octorok]] | TAoL Octorok art.jpg|[[Octorok]] | ||
TAoL Parutamu art.jpg|[[Parutamu]] | TAoL Parutamu art.jpg|[[Parutamu]] | ||
TAoL Ra mounted art.jpg|[[Ra]] | |||
Stalfos red ZII artwork.jpg|[[Stalfos Knight|Stalfos]] (red) | Stalfos red ZII artwork.jpg|[[Stalfos Knight|Stalfos]] (red) | ||
Stalfos blue ZII artwork.jpg|Stalfos (blue) | Stalfos blue ZII artwork.jpg|Stalfos (blue) | ||
Revision as of 04:39, December 25, 2019
 This article is a stub. You can help Triforce Wiki by expanding it.
This is a gallery of images pertaining to Zelda II: The Adventure of Link.
Boxart
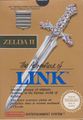
North American box art

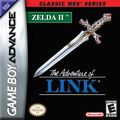
North American Classic Series box art

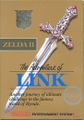
Japanese box art
France, Belgium and Netherlands cover
Classic NES Series cover

European NES Classics cover
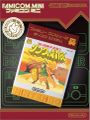
Famicom Mini cover


Artwork
Enemies

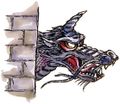
Acheman (bat)

Acheman (devil)
Deeler (red)
Deeler (blue)
Gēru (orange)
Gēru (red)
Gēru (blue)
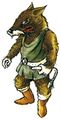
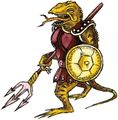
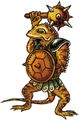
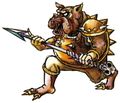
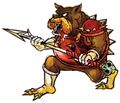
Goriya (orange)
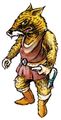
Goriya (red)

Goriya (blue)
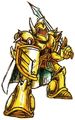
Ironknuckle (orange)
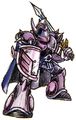
Ironknuckle (red)

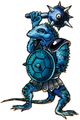
Mau (flying)
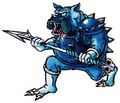
Mau (mounted)
Molblin (orange)
Molblin (red)
Molblin (blue)
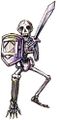
Stalfos (red)
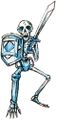
Stalfos (blue)


